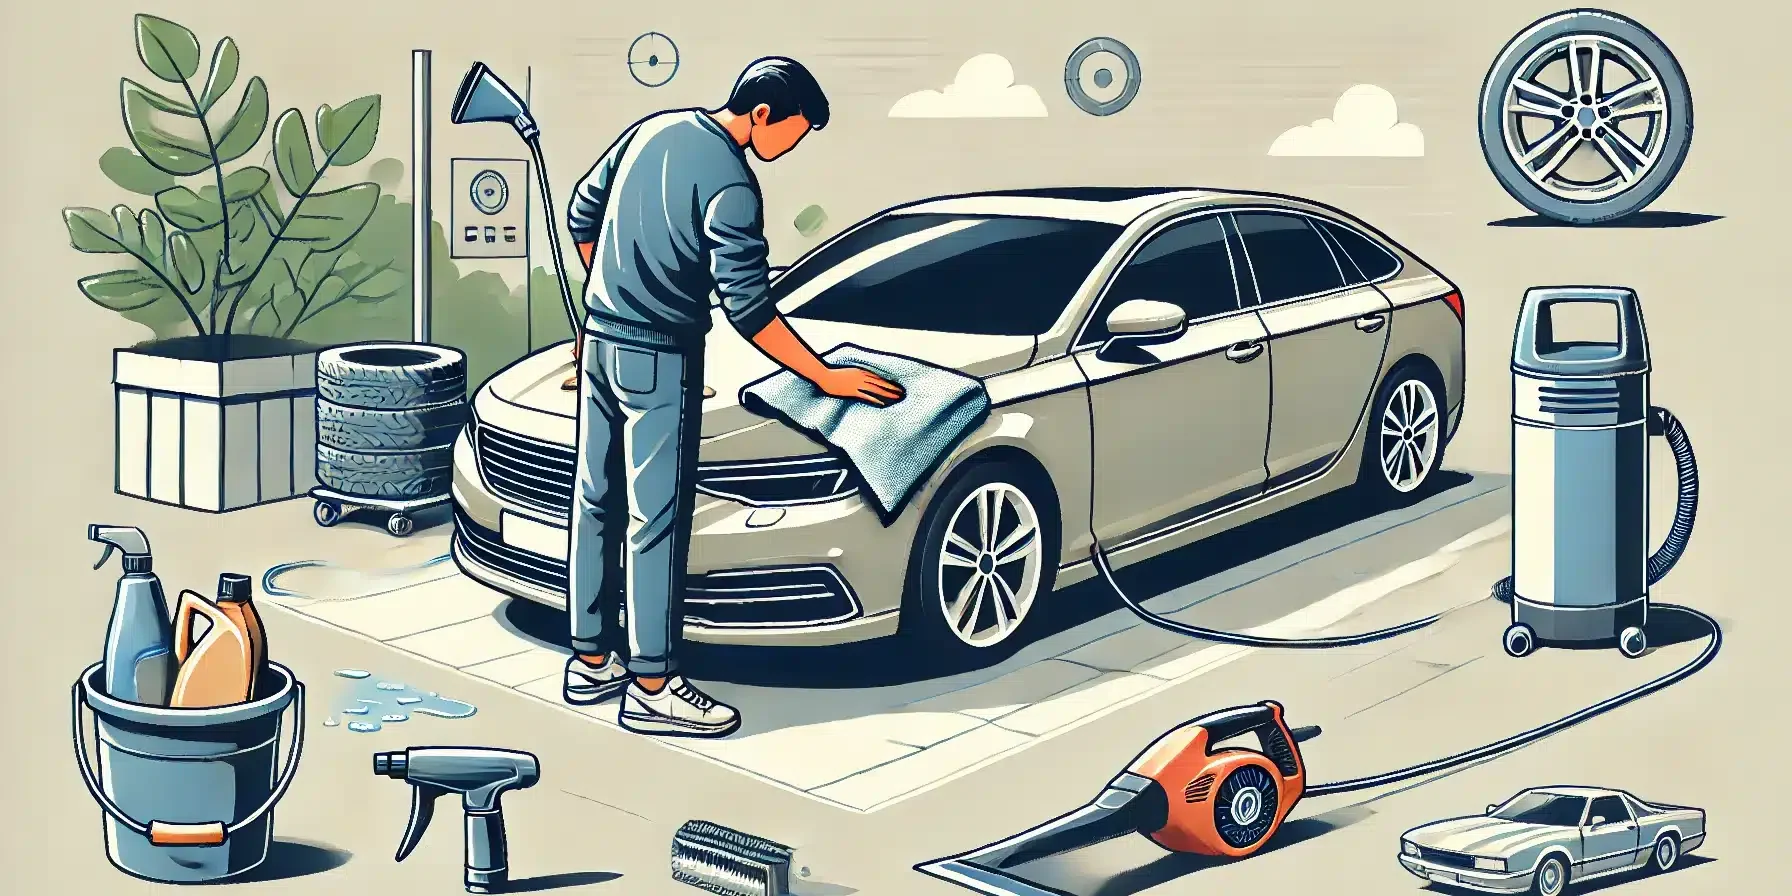
Drying Your Car: Professional Techniques for a Spotless Finish
After spending time and effort washing your car, the last thing you want is water spots marring your hard work. Proper drying is a crucial step in the car cleaning process that many overlook. In this comprehensive guide, we’ll explore various techniques and tools to help you achieve a streak-free, showroom-worthy finish every time you wash your vehicle.
Why Proper Drying Matters
Water spots aren’t just unsightly; they can actually damage your car’s paint over time. Minerals left behind when water evaporates can etch into the clear coat, leaving permanent marks. Additionally, proper drying prevents water from seeping into crevices and causing rust or other damage. Let’s dive into the methods professionals use to ensure a perfect finish.
The Two-Step Drying Process
For optimal results, we recommend a two-step drying process:
- Initial Water Removal
- Final Detailing
Each step requires specific tools and techniques, which we’ll explore in detail.
Step 1: Initial Water Removal
The goal here is to remove as much standing water as possible from your vehicle’s surface. There are several effective methods:
- Water Blade or Silicone Squeegee
A water blade, like the K2 Hydro Flexi, is a professional-grade tool designed to quickly remove large amounts of water without scratching the paint. Here’s how to use it effectively:
- Start at the roof and work your way down
- Use long, smooth strokes
- Wipe the blade clean after each pass
- Be cautious around emblems and sharp edges
- Blower Method
For those concerned about potential scratches, a leaf blower or dedicated car dryer is an excellent no-contact option:
- Begin at the top of the vehicle
- Pay special attention to crevices, mirrors, and around the license plate
- Use steady, controlled movements to push water off the vehicle
Step 2: Final Detailing
After removing most of the water, you’ll need to address any remaining droplets and achieve that perfect shine. This is where microfiber towels come into play.
- Microfiber Towels
Not all microfiber towels are created equal. Look for plush, high-quality towels specifically designed for automotive use. Here’s how to use them effectively:
- Use a fresh towel for each section of the car
- Gently blot rather than wipe to prevent swirl marks
- Pay extra attention to areas prone to water accumulation, like side mirrors and around the gas cap
Advanced Technique: The Drying Aid
For those seeking the ultimate finish, consider using a drying aid. These products not only help remove water but also add protection and shine to your vehicle’s paint.
How to Use a Drying Aid:
- After the initial rinse, spray the drying aid onto a wet panel
- Use a plush microfiber towel to spread the product and dry the surface
- Flip the towel frequently to a dry side
Popular drying aids include:
- Meguiar’s Hybrid Ceramic Wax
- Chemical Guys After Wash
- Gyeon Q2M Cure
The Hydrowax Method: A Game-Changer in Car Drying
For those looking to take their car care routine to the next level, the hydrowax method offers a revolutionary approach to drying and protecting your vehicle simultaneously.
What is Hydrowax?
Hydrowax is a specially formulated product that combines the water-repelling properties of a wax with the ease of application of a drying aid. It’s applied to a wet car surface and helps to both dry the vehicle and leave behind a protective layer.
How to Apply Hydrowax:
- Mix the hydrowax concentrate with water according to the manufacturer’s instructions
- Pour the mixture into a garden sprayer or dedicated car sprayer
- Spray the solution evenly over the wet car surface, starting from the roof and working your way down
- Allow the product to dwell for a few minutes – you’ll notice water beading up on the surface
- Use a water blade or squeegee to remove the majority of the water
- Finish with a microfiber towel to remove any remaining moisture and buff to a high shine
Benefits of the Hydrowax Method:
- Saves time by combining drying and waxing steps
- Provides a layer of protection that can last several weeks
- Enhances the shine and depth of your car’s paint
- Makes future washes easier as dirt and grime are less likely to stick
Common Mistakes to Avoid
Even with the right tools and techniques, there are some pitfalls to watch out for:
- Using dirty or contaminated drying tools
- Allowing the car to air dry, especially in direct sunlight
- Using excessive pressure when drying, which can cause swirl marks
- Neglecting to dry hidden areas like door jambs and under the fuel door
Maintaining Your Drying Tools
To ensure the best results and longevity of your drying tools:
- Wash microfiber towels separately from other laundry
- Avoid using fabric softener on microfiber towels
- Store drying tools in a clean, dust-free environment
- Replace worn or damaged tools promptly
Conclusion
Mastering the art of drying your car is a crucial step in maintaining its appearance and protecting its finish. By employing these professional techniques and investing in quality tools, you can achieve a streak-free, showroom-worthy shine every time you wash your vehicle. Remember, the key to a perfect finish lies not just in how you wash your car, but in how you dry it. With practice and patience, you’ll soon be drying your car like a pro, ensuring it looks its best for years to come.


